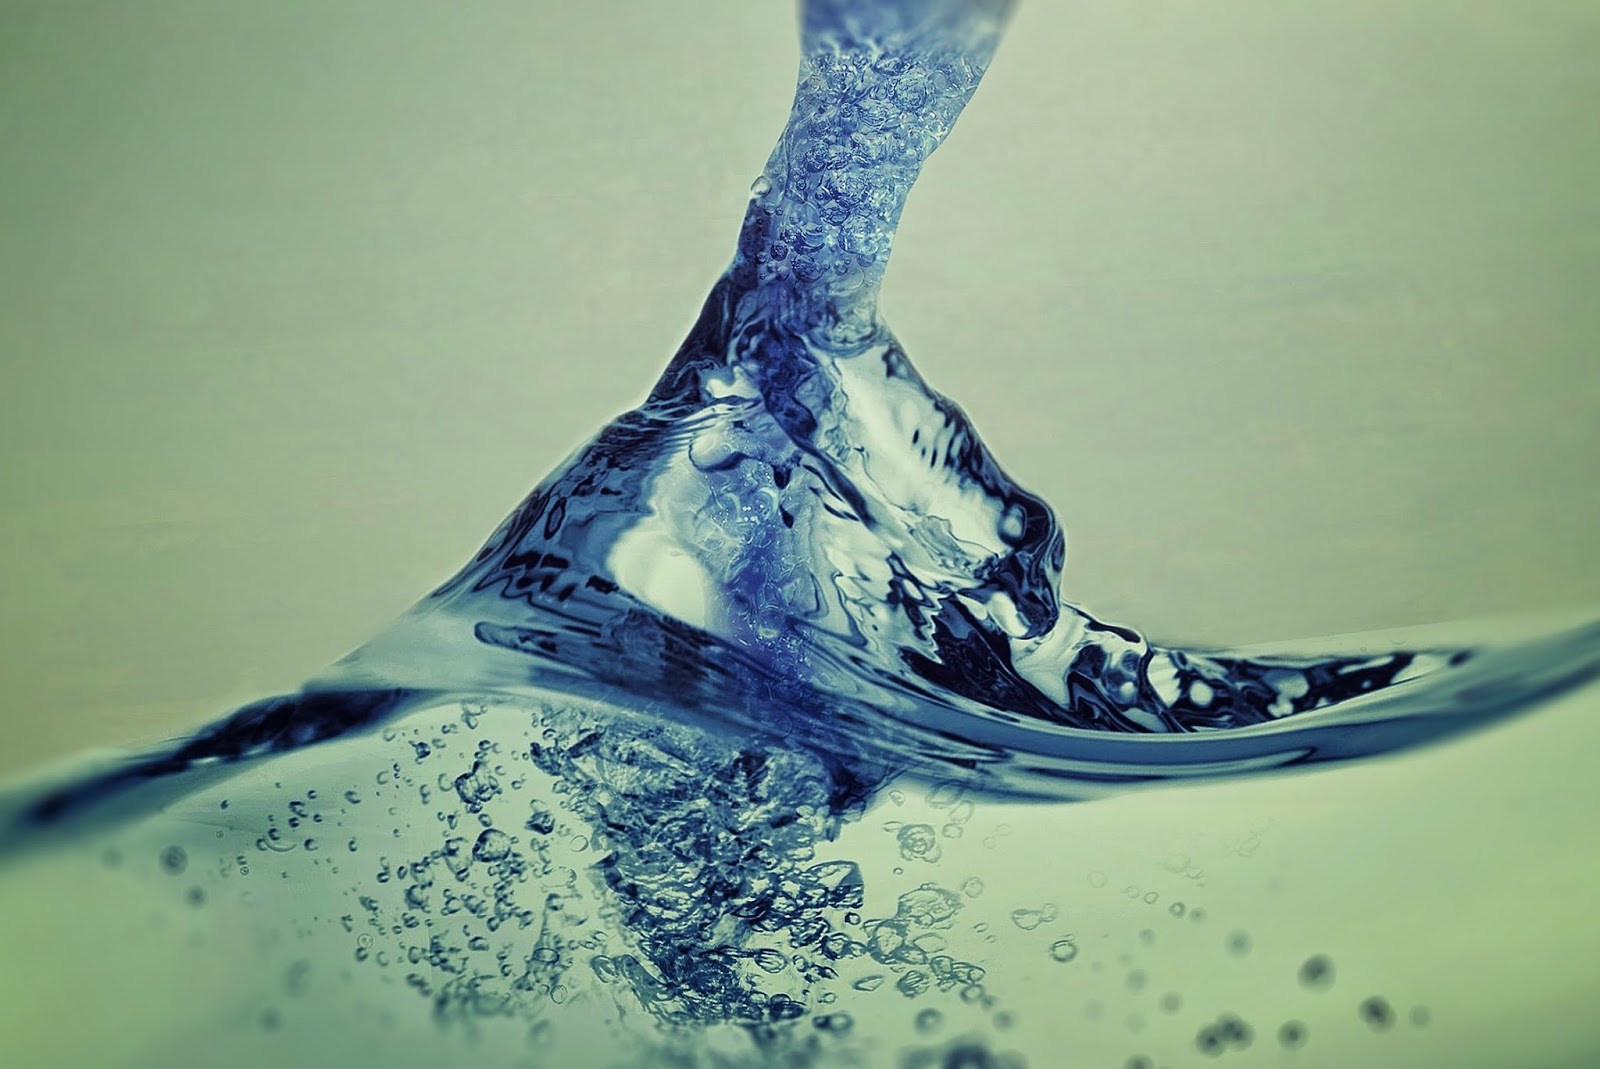
In this 2 parts video tutorials, we will see how to manipulate a photo into a water and clouds scene, using some relatively simple techniques and compositing images together in Adobe Photoshop.


—Stock::::::IMPORTANT: Any images are used for preview and tutorial purposes only. in case you want to use it you need to read the rules from the owners of this stocks.
—NOTE: If you want to sharpen your image to add more details, you just resize your image to the size you'd like, then just MERGE DOWN everything by pressing (ALT+CTRL+SHIFT+E) then DUPLICATE the image and change the Layer Blending Mode to LINEAR LIGHT. Now with that second layer selected, go to ''Filter / Other / HIGH PASS'' and change the radius, between ''0.3 to 0.9'' pixels. Then add a Layer Mask to that layer to paint just the areas that you want it to be sharpen. So use a soft black brush with varying opacity, start painting anything you don't want so sharp.
DOWNLOAD PSD&STOCK
DOWNLOAD PSD&STOCK


Post a Comment